+
Projects Completed
+
Happy Customers
+
Team Members
+
Global Awards


Our Latest Stories

Sydney Tattoo Studio Guide: How to Find the Perfect Fit
This guide breaks the decision into simple checks, so they can book with confidence rather…

Best Tattoo Studio Sydney: What Sets Top Studios Apart?
What should people look for first in a Sydney tattoo studio? They should start with…
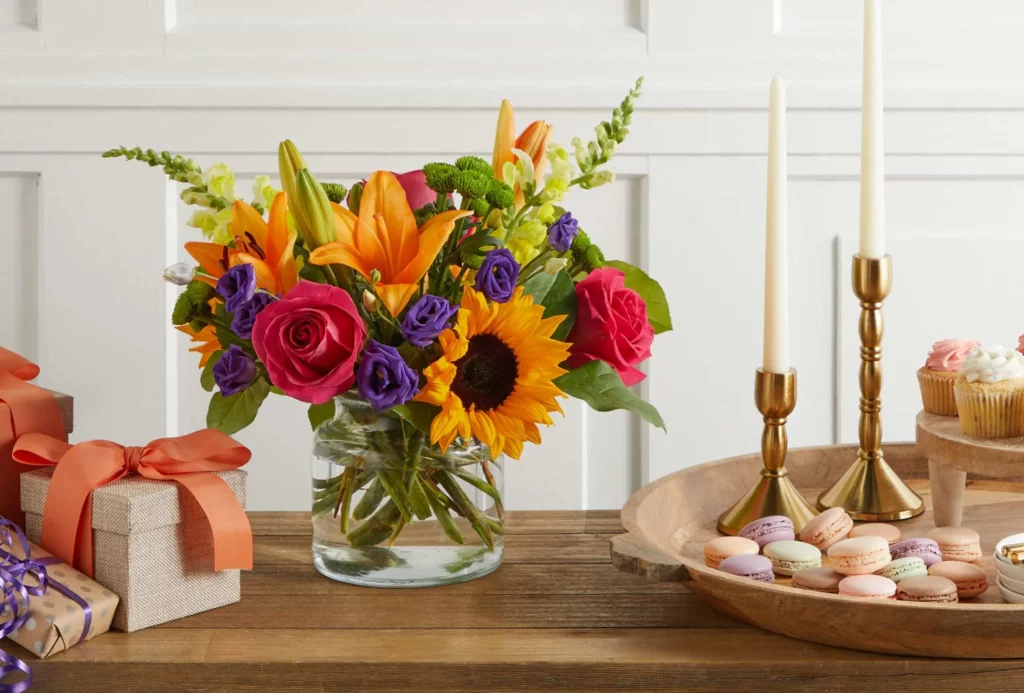
What Makes a Cammeray Florist Stand Out for Fresh Arrangements
Below are the practical markers that separate “nice flowers” from arrangements people remember. What does…
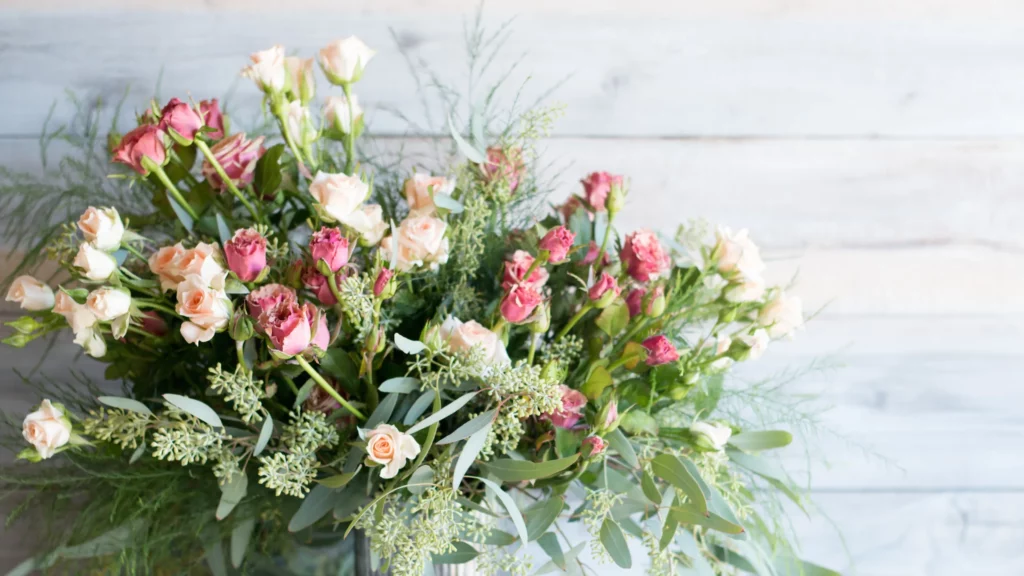
How a Florist Neutral Bay Creates Beautiful Everyday Bouquets
What makes an “everyday bouquet” different from a formal arrangement? An everyday bouquet is designed…
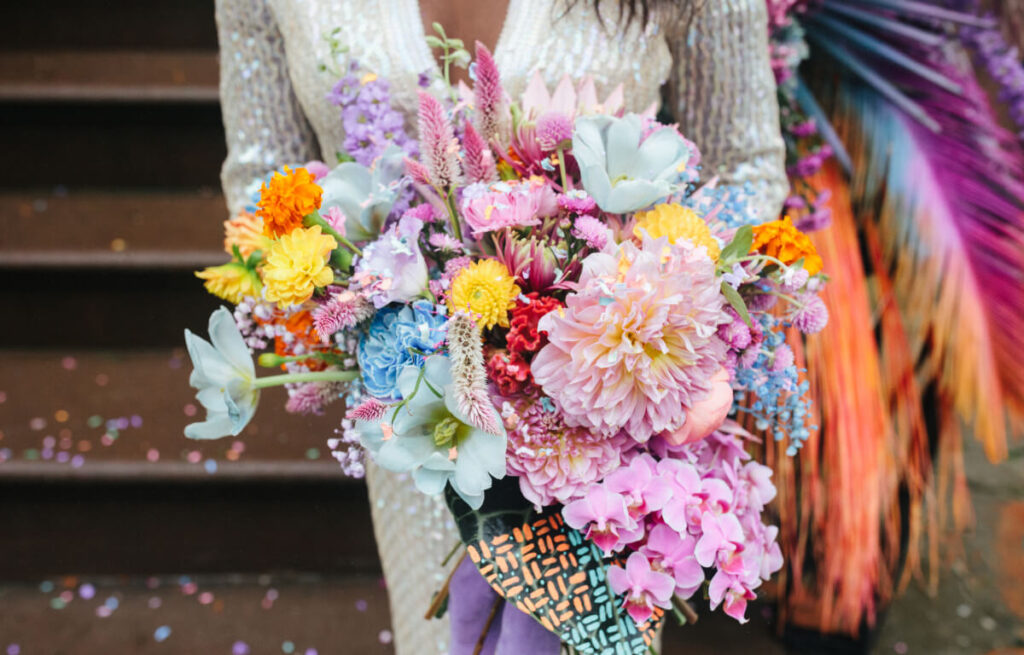
Finding the Perfect Florist Central Coast for Your Floral Needs
Searching for the perfect florist on the Central Coast can be an exciting yet daunting…
Why Central Coast Florist Services Are the Best Choice for You
If you’re in need of beautiful floral arrangements for any occasion, Central Coast florist services…
Our
Unique Value Proposition

Our
Crafting Process
Customer Testimonials
Garden Center Showplace exceeded my expectations with the beautiful funeral wreath they created. It was a perfect tribute to my loved one’s memory.

I was blown away by the gorgeous wedding bouquet Garden Center Showplace designed for my special day. It was exactly what I dreamed of.

The attention to detail in the floral arrangements for my wedding was incredible. Garden Center Showplace truly made our day memorable.